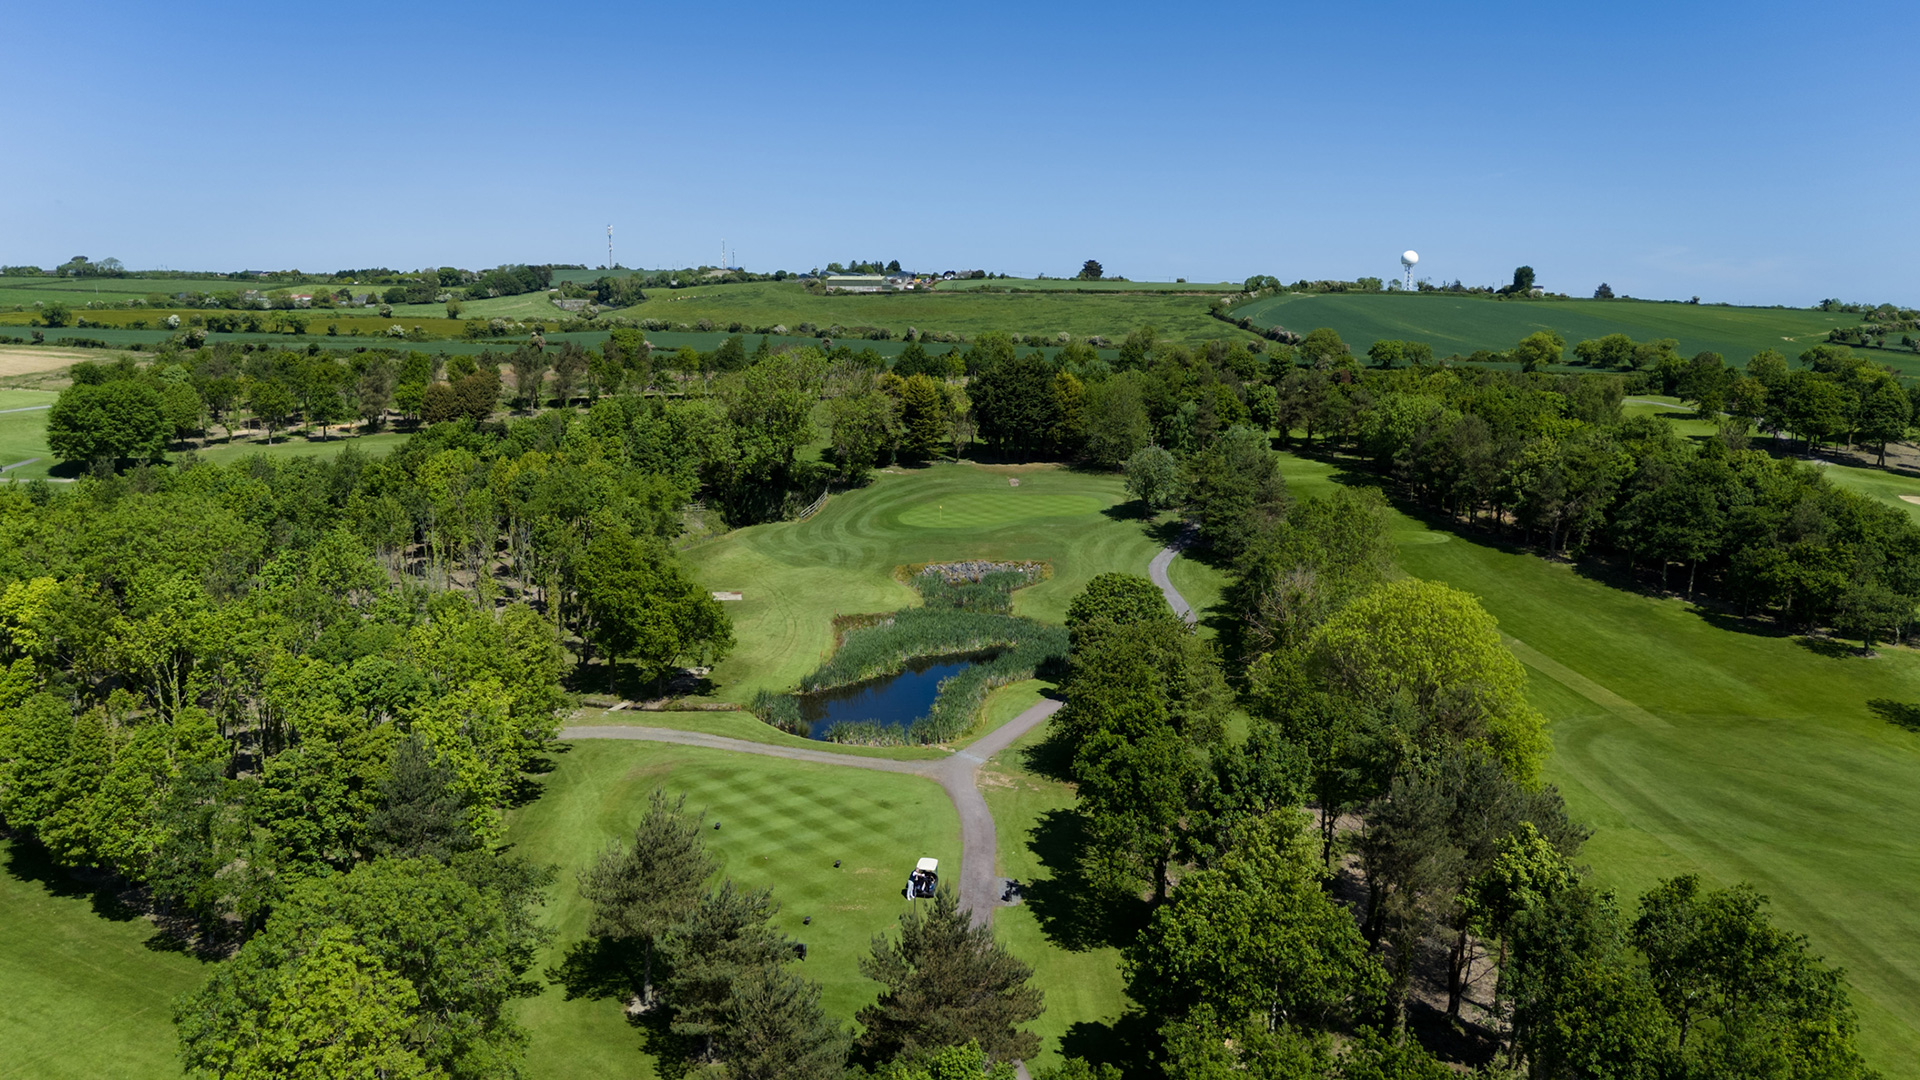
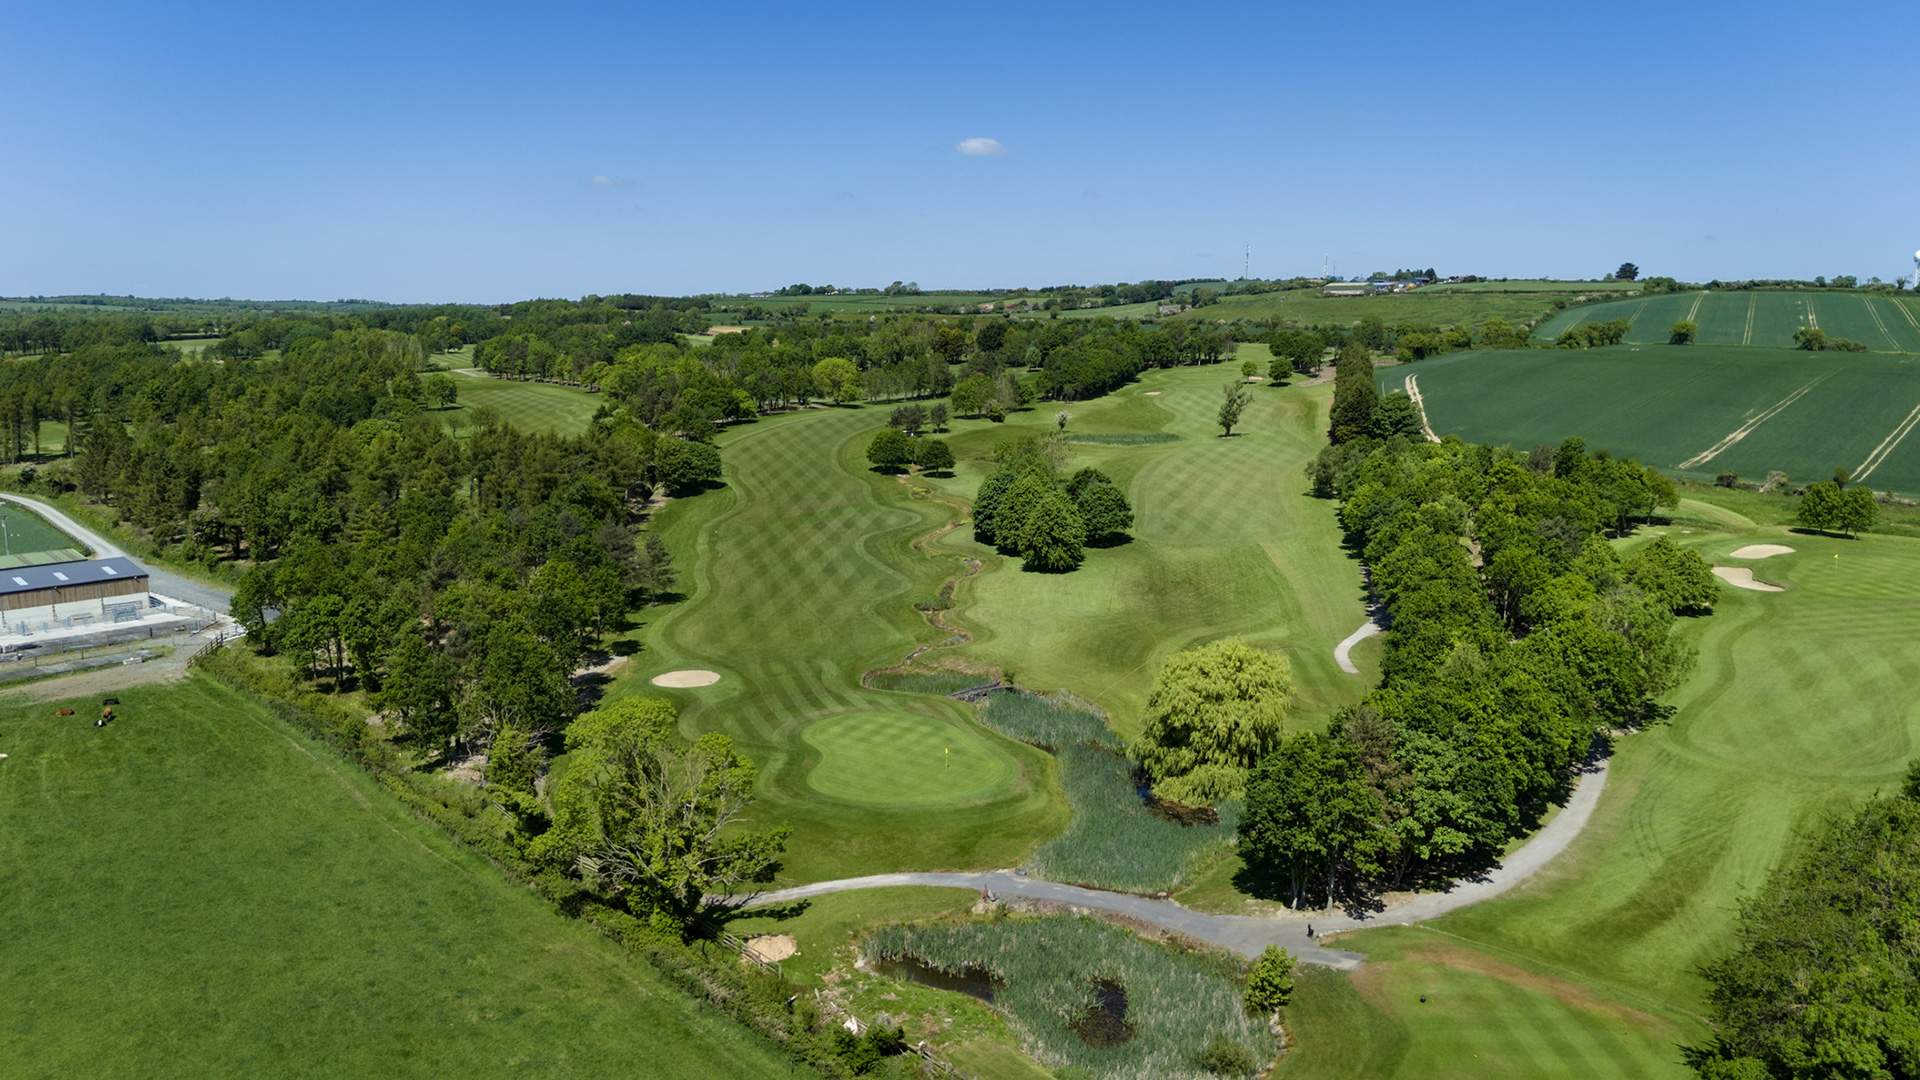

Hole 1
Par 4, 329 Yards
A beautiful opening dogleg left Par 4. Your 2nd shot to the green is over a lake, so the further right you are off the tee, the longer your approach will be. The green slopes from back to front and will test your putting skills early.


Hole 2
Par 4, 404 Yards
A straight Par 4 with a fairway that slopes from left to right. A lake comes into play off the tee for the big hitters. A large green awaits your approach shot and another test of your putting skills. Also look out for hidden bunkers, which may not be visible from the fairway.


Hole 3
Par 4, 372 Yards
Another fairway sloping left to right; you can choose to be aggressive off the tee leaving you with a short iron into the green. But again, look out for a hidden bunker on the left side of the green. A very difficult green to 2-putt, so pay attention to other players to get a good read on the break and pace of the putt. Land the ball short of the flag for an uphill putt.


Hole 4
Hole 4: Par 3, 129 Yards
A short, 2-tiered Par 3 green, the 4th hole is considered the shortest Par 5 on the course. A very beautiful Par 3 and is considered our signature hole. A hole in one is not uncommon on this hole, depending on flag position, but 3 and 4 putts are a real possibility too. Many a score card has been ruined on this hole, so correct club selection is vital


Hole 5
Hole 5: Par 5, 470 Yards
The first Par 5 is a dogleg left. You can play it safe off the tee for a hassle free 3 shot hole, or you can be aggressive with a driver. Be careful though as this brings the water into play, which runs all the way down the left-hand side of the hole. A large green awaits your approach shot, but a lake left of the green will gobble up any wayward shots. A classic risk or reward hole.


Hole 6
Hole 6: Par 3, 168 Yards
The second Par 3 is hit to an elevated green, with bunkers left and right of the green, which cannot be seen from the tee. The green slopes severely from back to front, so a ball below the hole is recommended. A ball past the flag will leave you a very difficult 2-putt. Check the wind direction on this hole, as it usually plays a big part in club selection.


Hole 7
Hole 7: Par 4, 383 Yards
A difficult, uphill Par 4, this index 2 hole requires distance and accuracy on every shot. Water, out of bounds and a large tree gets your attention off the tee and the 2nd shot to the green is severely uphill, requiring and extra club…. or two. A large 2-tiered green awaits you. Be happy with a 2-putt and move on to the next hole. A bogey is not a bad score on this hole.


Hole 8
Hole 8: Par 4, 374 Yards
One of the best views on this course is the one from the 8th tee box. Lambay Island, Irelands Eye, Howth Peninsula and Dublin Bay can be seen from this picturesque spot. An aggressive shot off this tee can leave you with an 80-yard second shot into the green, but if not hit correctly, you can be left with a difficult shot with an uneven fairway over water. The breaks in this green are very subtle, so take your time reading this one.


Hole 9
Hole 9: Par 5, 472 Yards
This Par 5 is reachable in two but finding the fairway off the tee is essential. A lay-up shot is not easy on this hole because of the ditch which runs across the fairway. This hole gives you a large target to aim for, but any shots left of the green will leave you a difficult shot to the putting surface.


Hole 10
Hole 10: Par 4, 376 Yards
This Par 4 has another sloping fairway, so hitting the correct part of the fairway is essential to make your 2nd shot a lot easier. The bunkers on the fairway come into play for big hitters and they are not visible from the tee. The approach shot needs to be accurate because the ball is usually above your feet. There is a narrow runway to this green, so any balls that are short usually kick into the bunker. Short of this flag will give the player an uphill putt.


Hole 11
Hole 11: Par 3, 167 Yards
Another elevated Par 3, this green is a long sloping one from back to front. 2 bunkers guard this hole, but only one can be seen from the tee. A 2-Putt is a great result on this green. Usually the same club used on the 6th hole is the same used on this hole but pay attention to the wind direction. Ball below the flag on this hole will give you an uphill putt.


Hole 12
Hole 12: Par 4, 350 Yards
A Par 4 that rewards a good drive with a short approach shot. It’s recommended to approach this green from the right side of the fairway to avoid having to go over the bunker. Strangely enough, this hole plays more difficult than index 17.


Hole 13
Hole 13: Par 4, 350 Yards
A slight dogleg left Par 4, this hole requires a straight drive. The large lake awaits any ball that is going left, and the car park has seen a few balls over the years. A tricky green awaits you on this hole, with a large bowl on the left side which should be avoided. Pay attention to the flag poles on the left side of the fairway, this gives a true indication on wind direction.


Hole 14
Hole 14: Par 5, 583 Yards
A monster downhill Par 5, it is index 1 on the scorecard. Getting over the brow of the hill off the tee makes your second shot a lot easier. Only a few people have gotten onto the green in two shots, so don’t force it because there is water to the right of the green and many a ball has ended up there. The green is large, and a tricky putt awaits you if the flag is at the back. Going over this green is not an option.


Hole 15
Hole 15: Par 5, 505 Yards
There is lots to think about on this Par 5. Water and O.B. off the tee and a tricky second shot, avoiding water and several bunkers if laying up. The 15th is one of the toughest greens on the course, if you see break on the green, play it and add a little more break. Take your two-putt and run, they can be rare sights!


Hole 16
Hole 16: Par 4, 407 Yards
This Par 4 usually plays into the prevailing wind and balls landing on the rough on the right side of the fairway usually means chipping out or hitting over several trees. A huge green could leave you with a 90-foot putt, so distance control is essential. Again, take a 2-Putt and run.


Hole 17
Hole 17: Par 3, 176 Yards
A handy, downhill Par 3 has bunkers on both sides of the green. An accurate tee shot can lead to a birdie chance, but most people who play this hole leave it short of the green.


Hole 18
Hole 18: Par 4, 376 Yards
A difficult finishing hole awaits you off the tee and into the green. Water and trees come into play off the tee and your 2nd shot is over one or two lakes. A large green is protected by sand and water and again slopes from back to front. Landing the ball short of the flag gives you a birdie putt but be careful!